Winter is the perfect time to add some frosty charm to your nails with beautiful blue snowflake designs. Blue hues and snowflake accents are cool, classic, and versatile, making them ideal for any winter occasion. From sparkling ombrés to intricate chrome effects, there are so many ways to elevate your nails this season. Here’s a list of 15 stunning ideas that will bring a touch of winter magic to your manicure. Let’s explore!
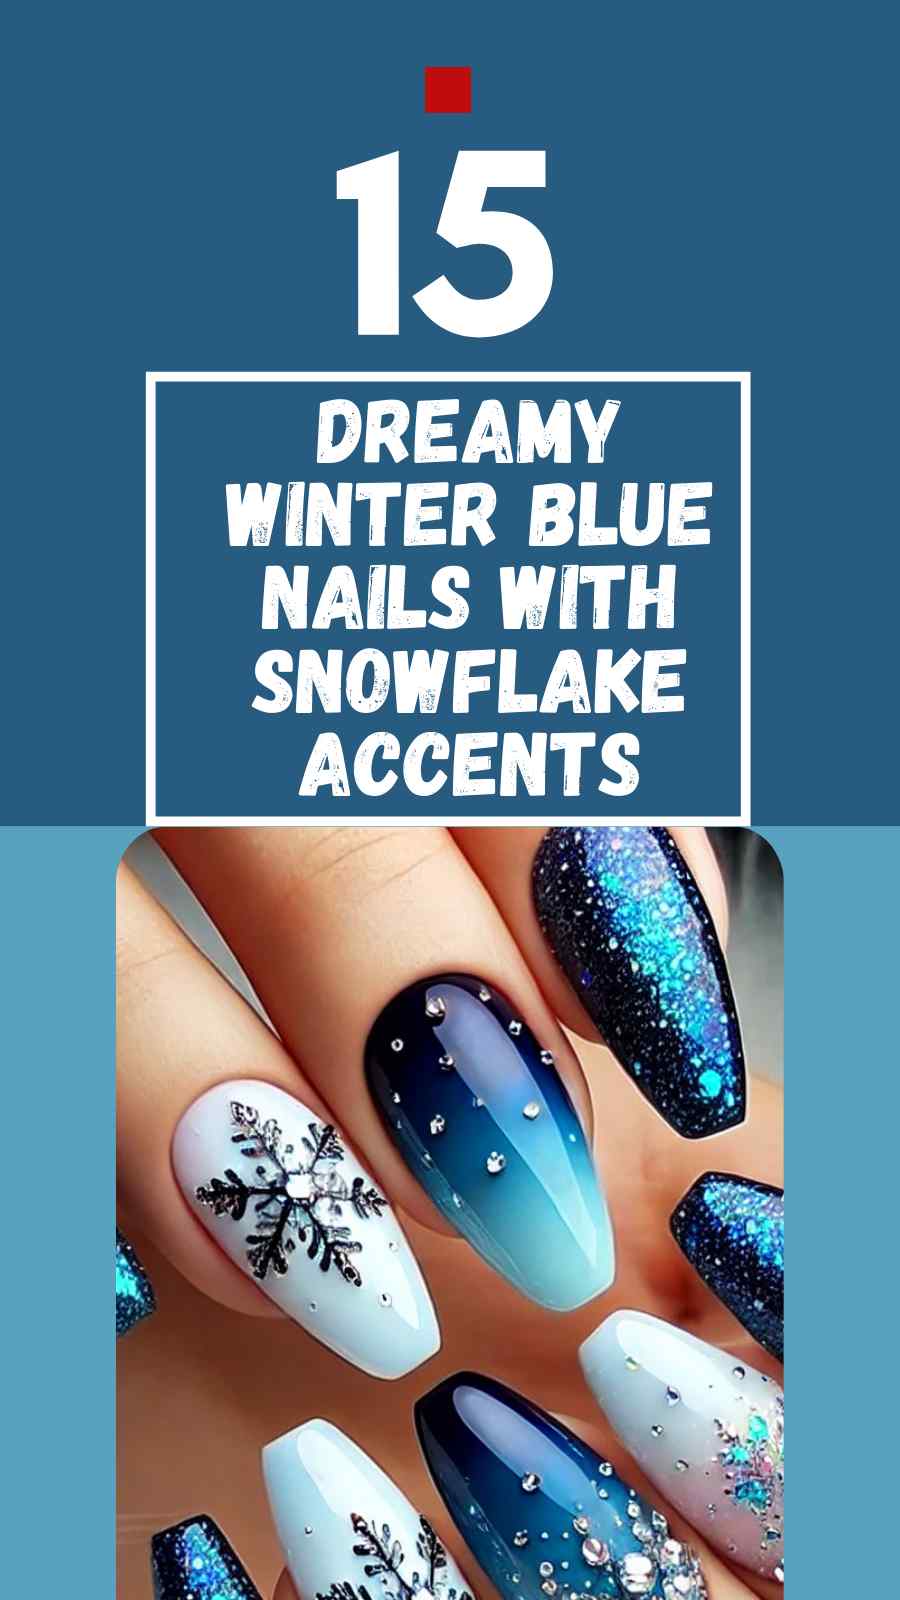
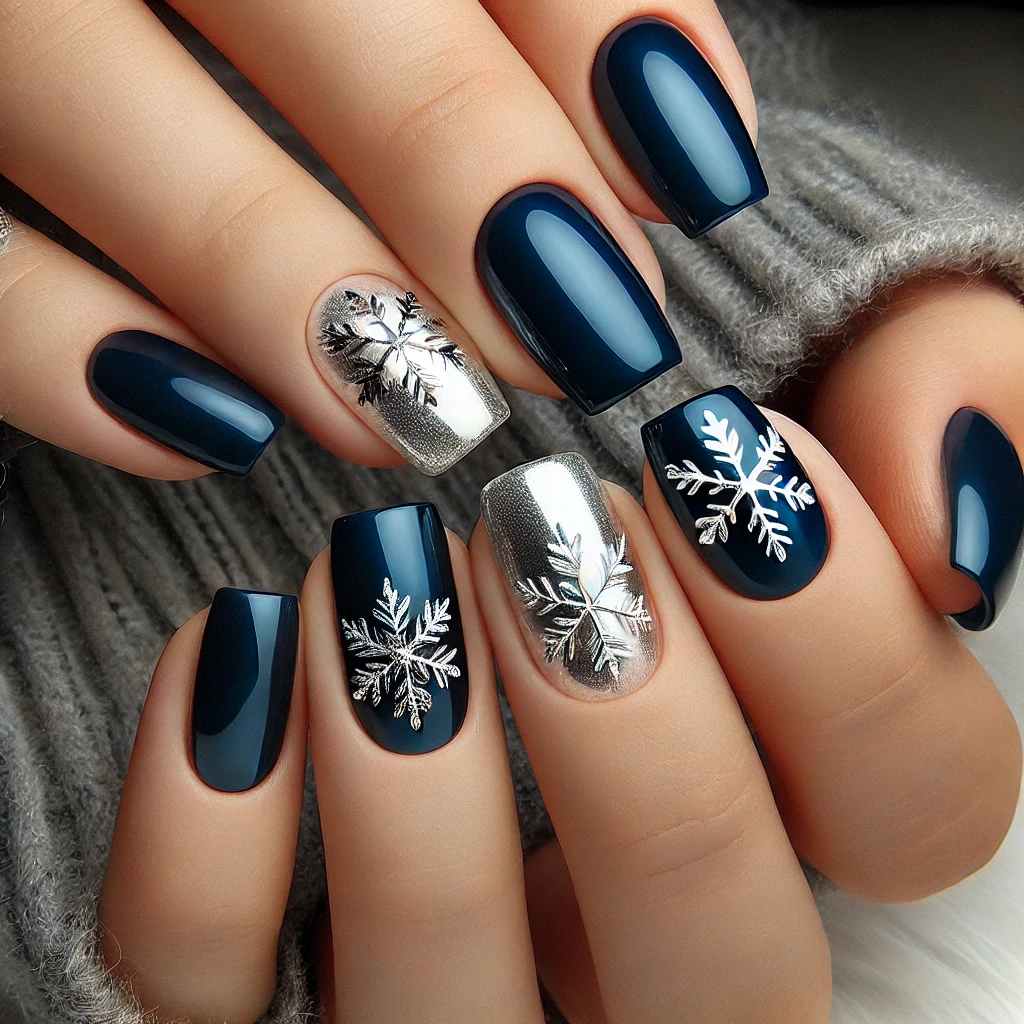
1. Midnight Blue Snowflakes with Silver Foil
Imagine a deep midnight blue base with delicate silver foil snowflakes gracing the top. This look is both chic and mysterious, perfect for evening events or cozy gatherings.
Pro Tips
- Choose a highly pigmented midnight blue polish for depth.
- Add silver foil in small pieces for a scattered effect.
- Finish with a high-gloss top coat to amplify the shimmer.
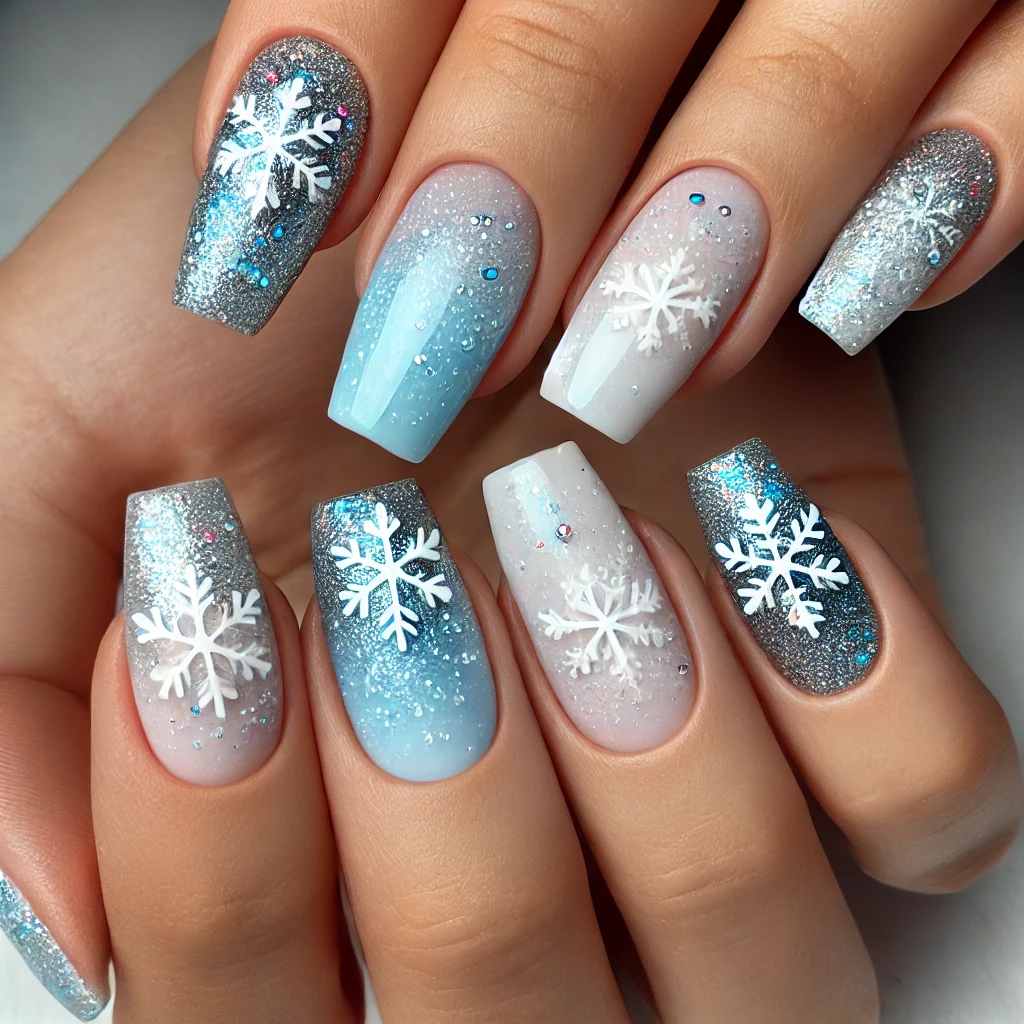
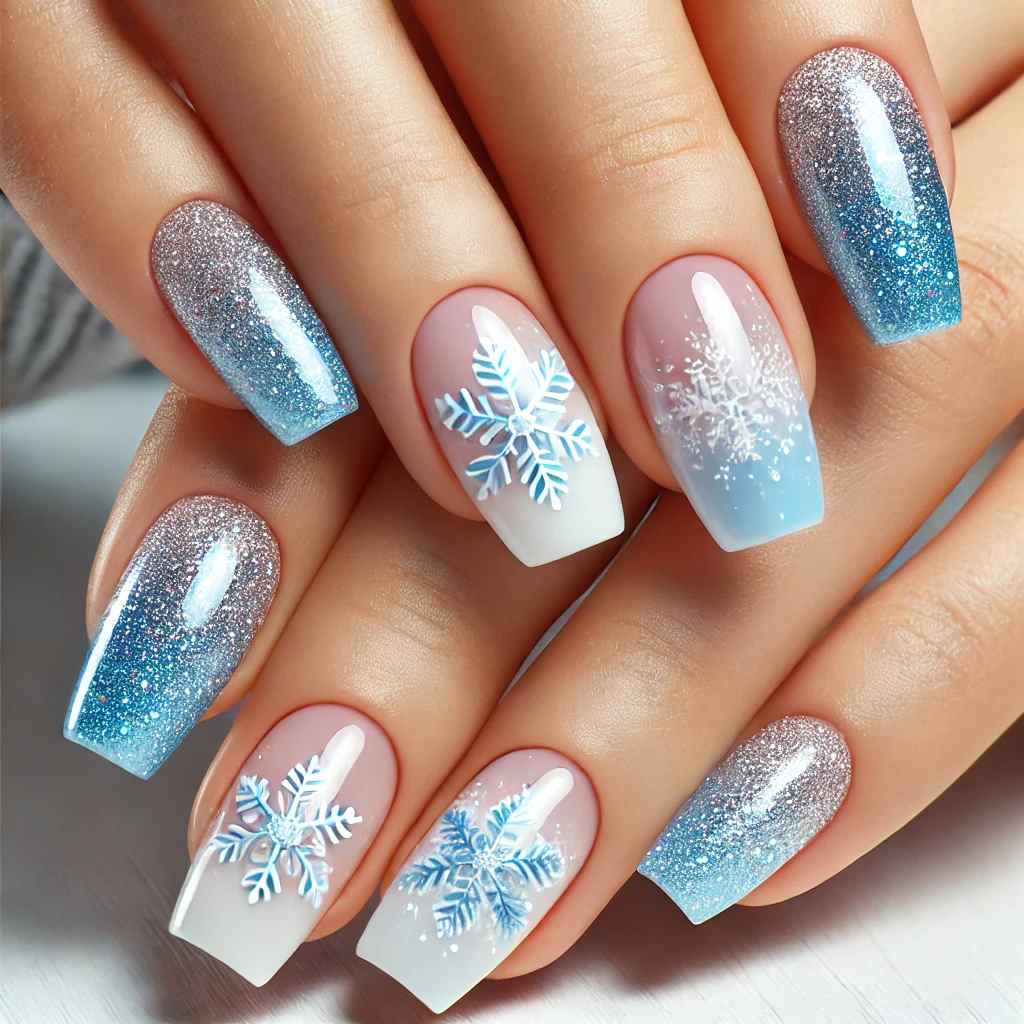
2. Frosty Ombre Blue with Sparkling Snowflakes
Create a beautiful ombre that fades from light sky blue to icy silver with glittery snowflakes floating across the nails. This design adds a touch of frosty elegance.
Pro Tips
- Blend two shades of blue for a smooth gradient.
- Use a fine glitter for subtle sparkle on snowflakes.
- Apply a clear top coat to seal in the ombre effect.
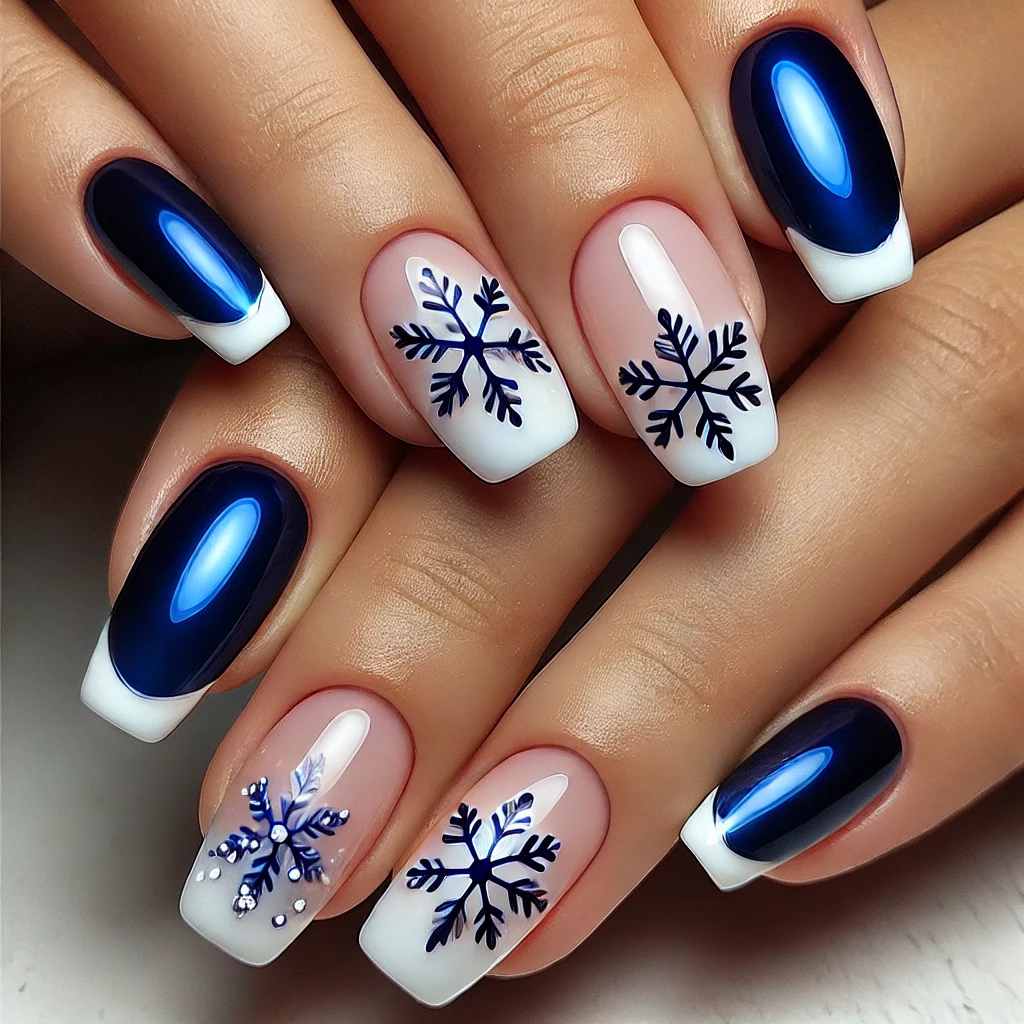
3. Blue French Tips with White Snowflake Accents
For a modern twist on the French tip, try blue tips with dainty white snowflake accents. The design is playful yet refined, giving you just the right amount of winter flair.
Pro Tips
- Go for a cobalt or royal blue for the tips.
- Use a fine detail brush to draw small snowflakes.
- Add a tiny rhinestone at the snowflake’s center for extra sparkle.
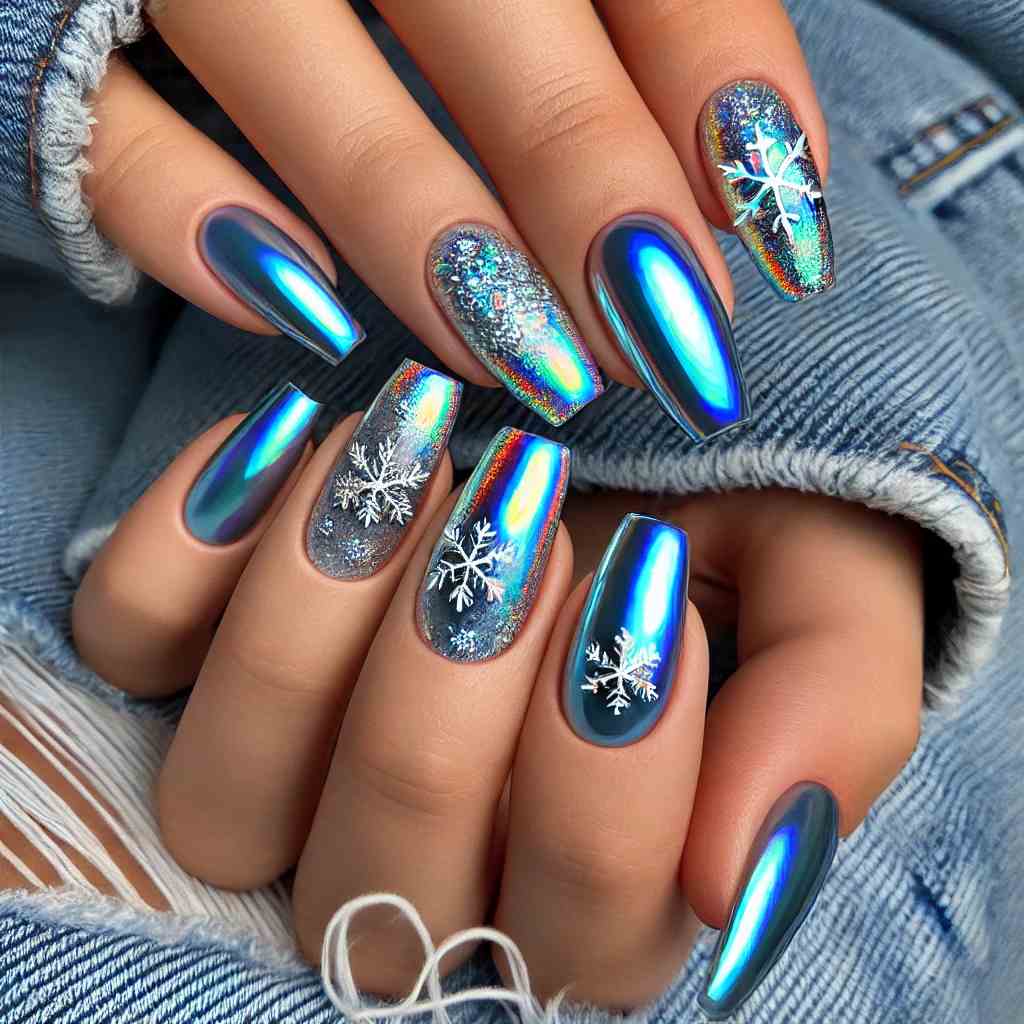
4. Chrome Blue with Holographic Glass Snowflakes
For a futuristic winter vibe, go for a blue chrome finish with holographic glass snowflakes that catch the light from every angle. It’s icy, bold, and unforgettable.
Pro Tips
- Opt for a blue chrome polish for a mirror-like effect.
- Add holographic stickers or nail tape to create glass-like snowflakes.
- Use tweezers to place each piece precisely before sealing with a top coat.
5. Blue Glitter Gradient with Subtle Snowflakes
A glittery blue gradient base with soft snowflakes provides a whimsical yet elegant winter style. This one’s perfect for those who love a little sparkle without going overboard.
Pro Tips
- Layer different shades of blue glitter polish for depth.
- Use a stamping tool for consistent snowflake patterns.
- Apply multiple coats of clear gloss for a smooth finish.
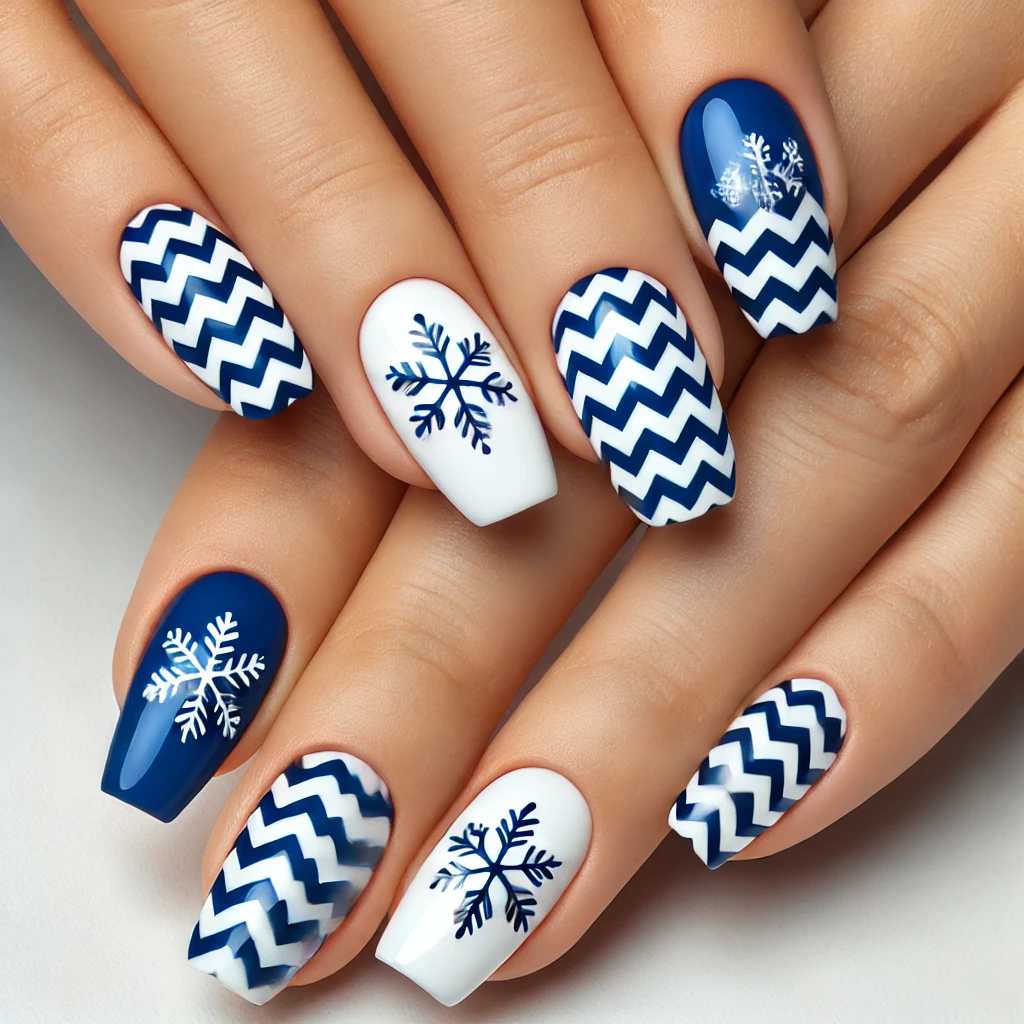
6. Royal Blue and White Chevron with Snowflakes
For a bold pattern, combine royal blue and white in a chevron pattern, with delicate snowflakes accenting each nail. This look is graphic yet wintery.
Pro Tips
- Use tape to create clean chevron lines.
- Add white snowflakes at intersections for a balanced look.
- Seal with a high-gloss top coat to keep edges smooth.
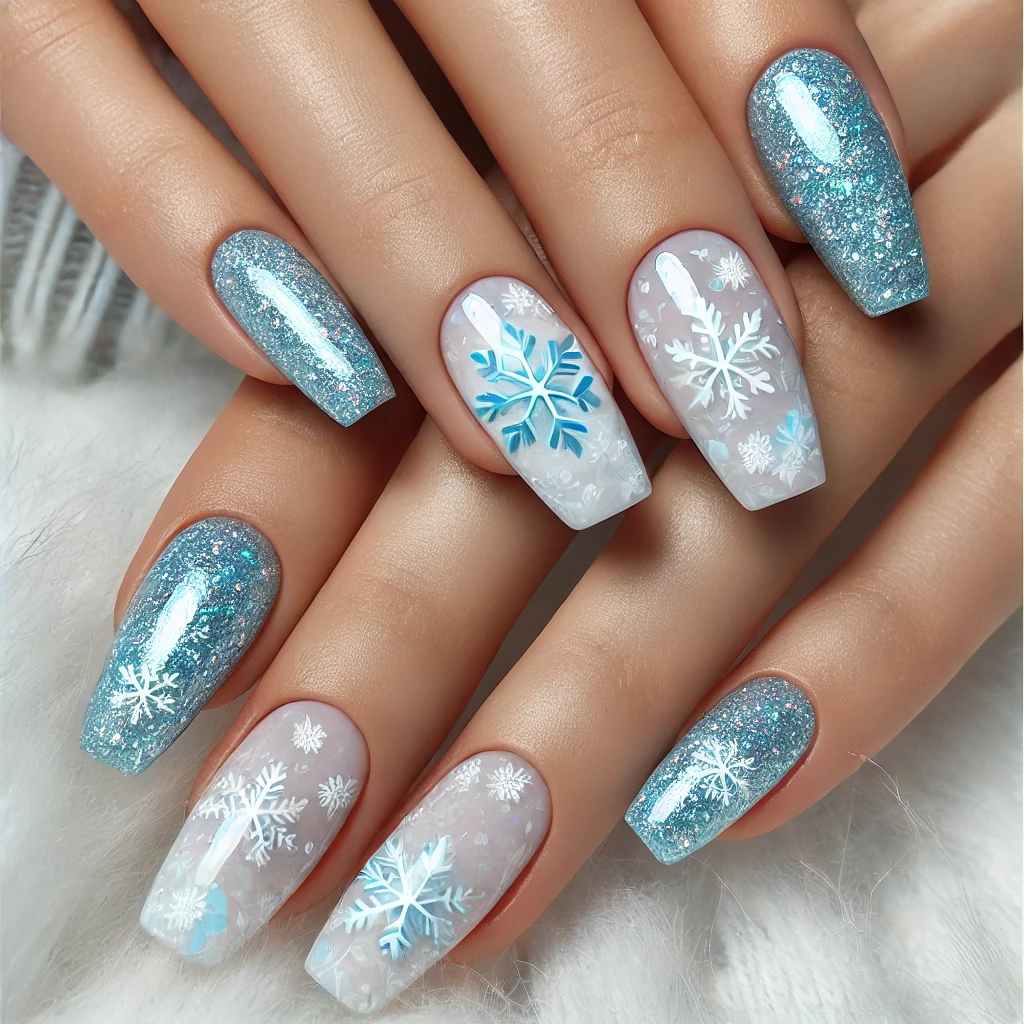
7. Shattered Glass Effect with Ice Blue Snowflakes
Create an ethereal effect with shattered glass nails in a soft ice blue, accented with minimalistic snowflakes. This design is mesmerizing and unique.
Pro Tips
- Apply thin layers of shattered glass paper for a multidimensional look.
- Draw minimal snowflake outlines to keep it delicate.
- Add a final gloss coat to enhance the glassy look.
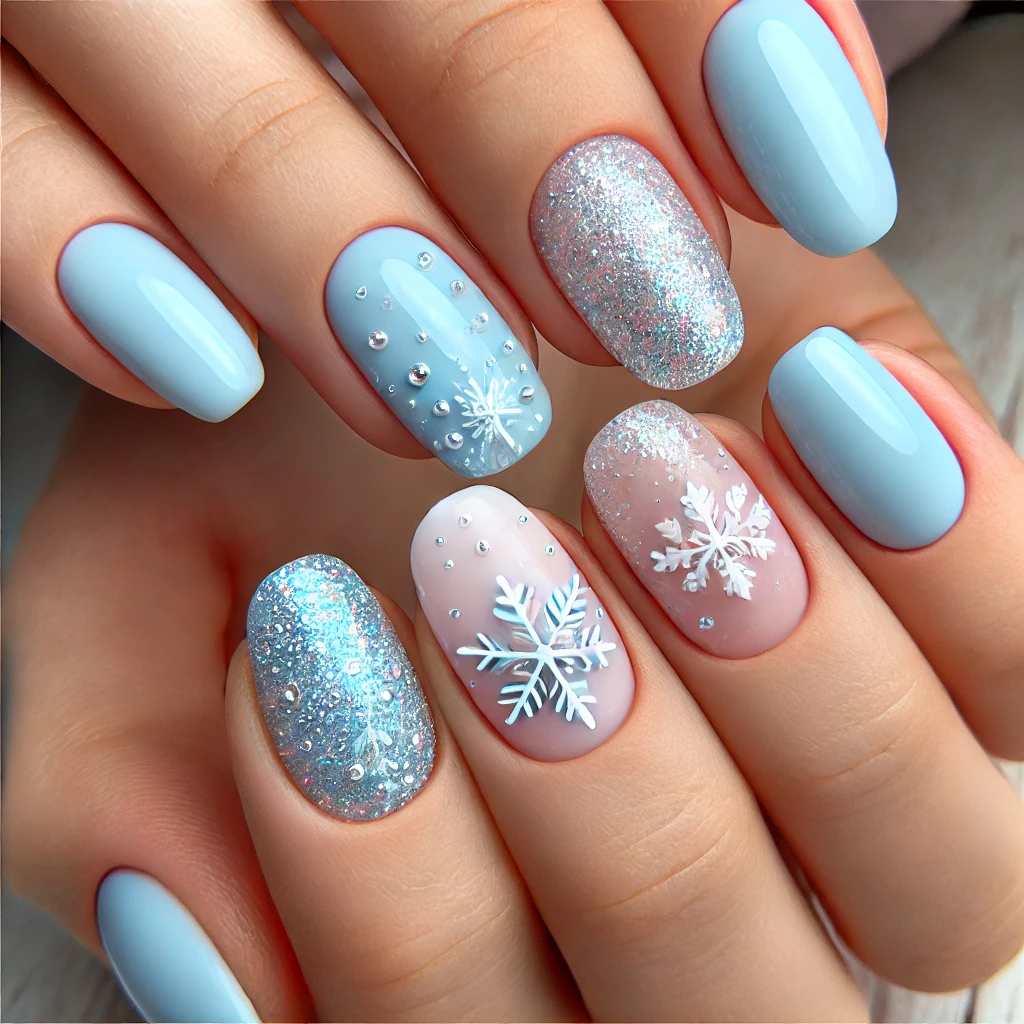
8. Icy Baby Blue with Silver Sparkles
Choose a baby blue polish topped with fine silver sparkles and subtle snowflakes to achieve a soft, magical winter look. This one’s delicate, yet eye-catching.
Pro Tips
- Pick a light blue base to highlight the silver sparkles.
- Use a fan brush for a light dusting of sparkle.
- Dot tiny snowflakes around the edges for a minimalistic vibe.
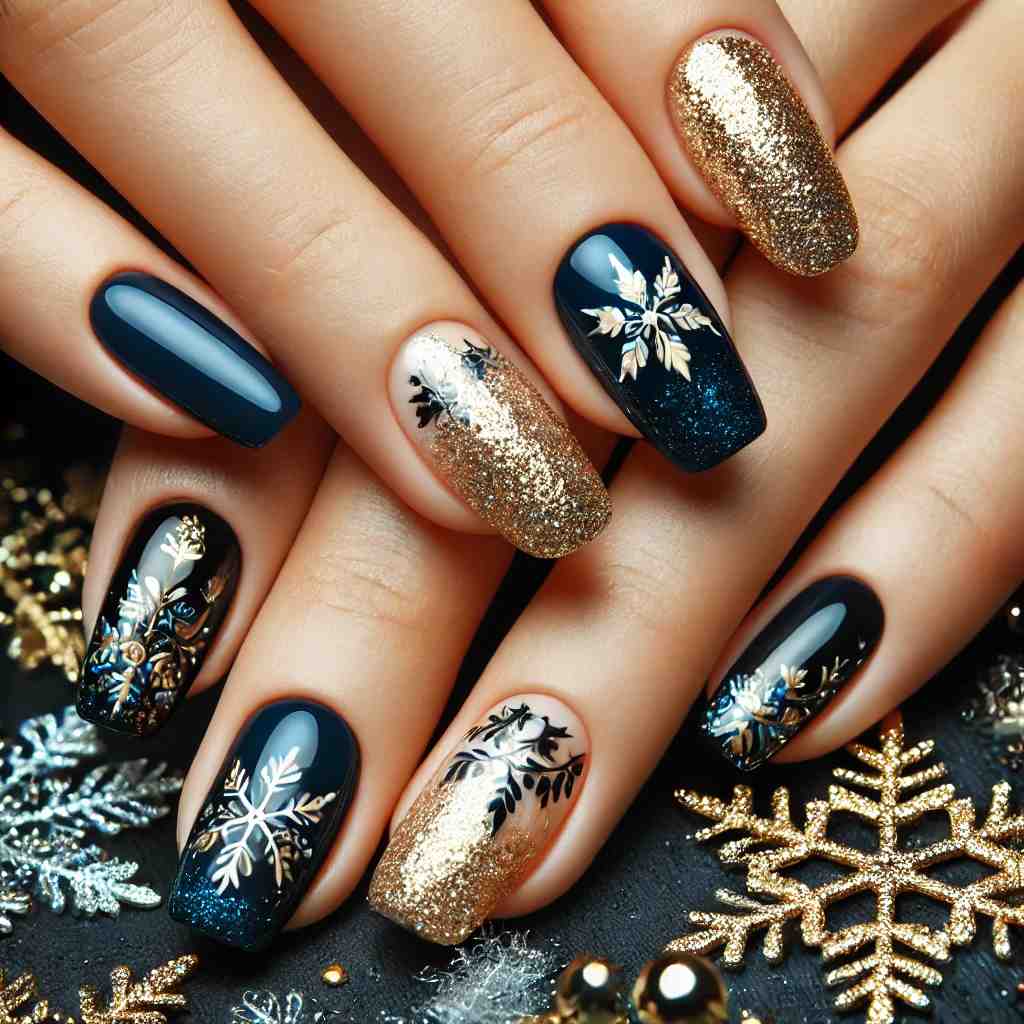
9. Navy Blue and Gold Foil Snowflakes
Give your nails a luxurious feel with a navy blue base and tiny gold foil snowflakes. The rich navy and sparkling gold foil are an elegant pairing.
Pro Tips
- Apply gold foil pieces with a nail adhesive for precision.
- Use a thin brush to create detailed snowflakes around the foil.
- Finish with a top coat to prevent foil from lifting.
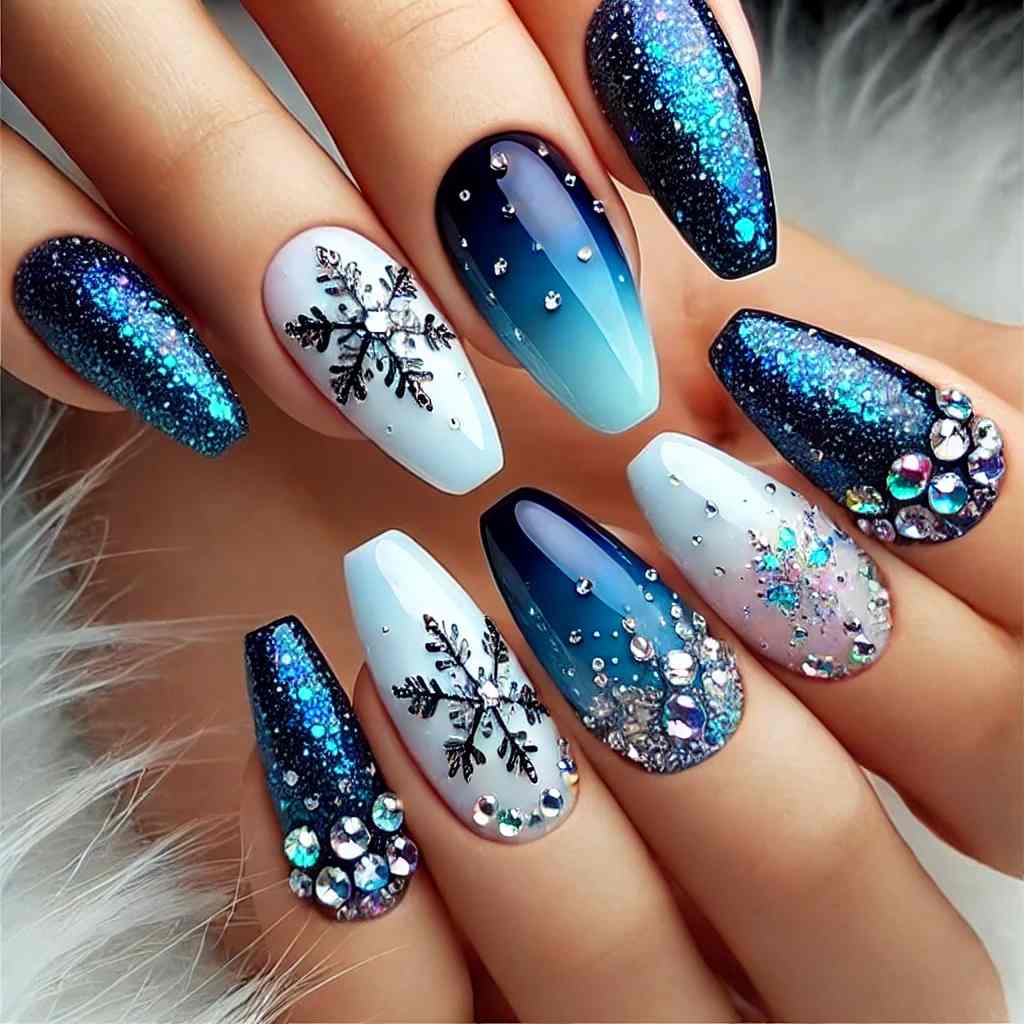
10. Deep Blue Ombré with Rhinestone Snowflakes
A deep blue ombre base adorned with rhinestone snowflakes adds a touch of glamour. This one is perfect for adding sparkle to any winter outfit.
Pro Tips
- Start with a deep blue ombre fading to lighter shades at the tips.
- Place rhinestones in snowflake shapes for extra dimension.
- Use nail glue to secure the rhinestones, then seal with top coat.
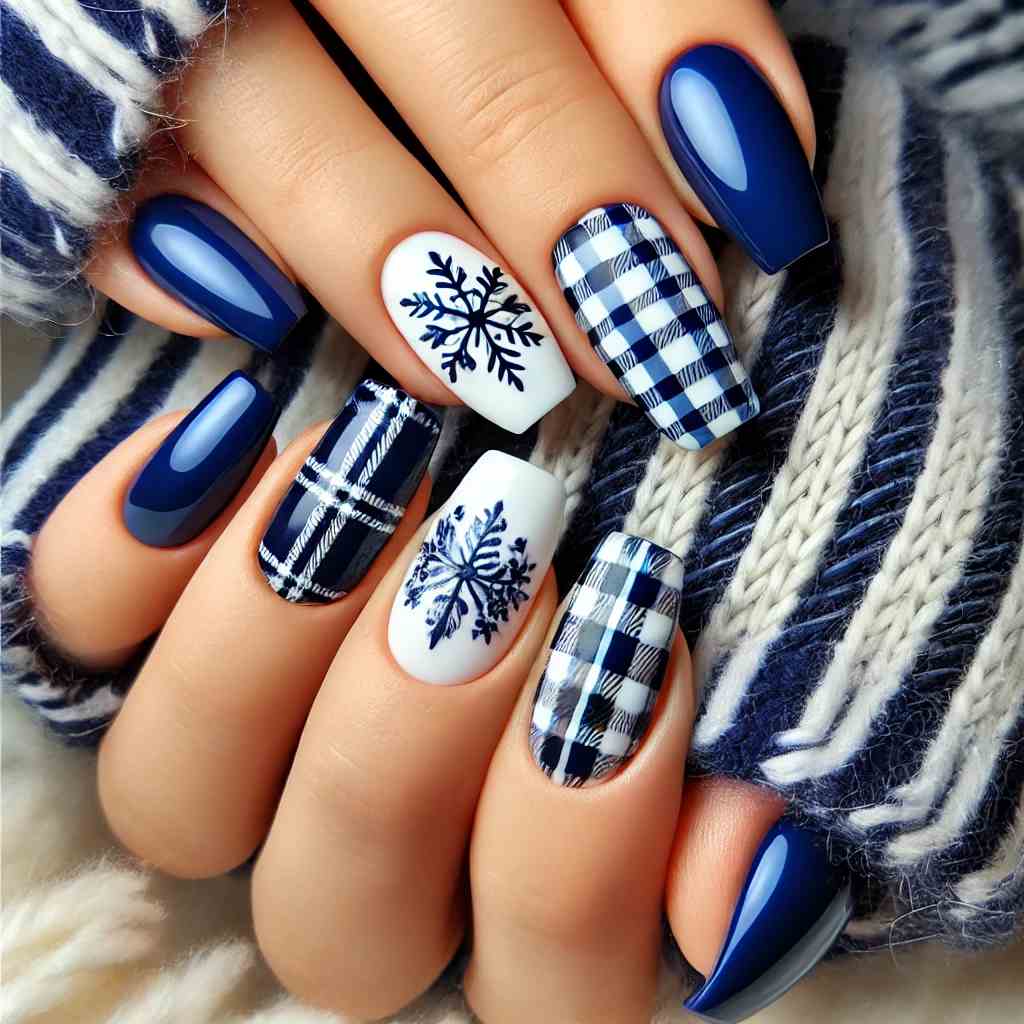
11. Royal Blue Nails with Delicate Snowflake Plaid
Add a hint of cozy plaid in white over a royal blue base, topped with delicate snowflake accents. This design is classic yet fresh, perfect for casual winter days.
Pro Tips
- Use striping tape to create clean plaid lines.
- Draw small snowflakes on accent nails to balance the plaid.
- Seal with a top coat to keep the lines from smudging.
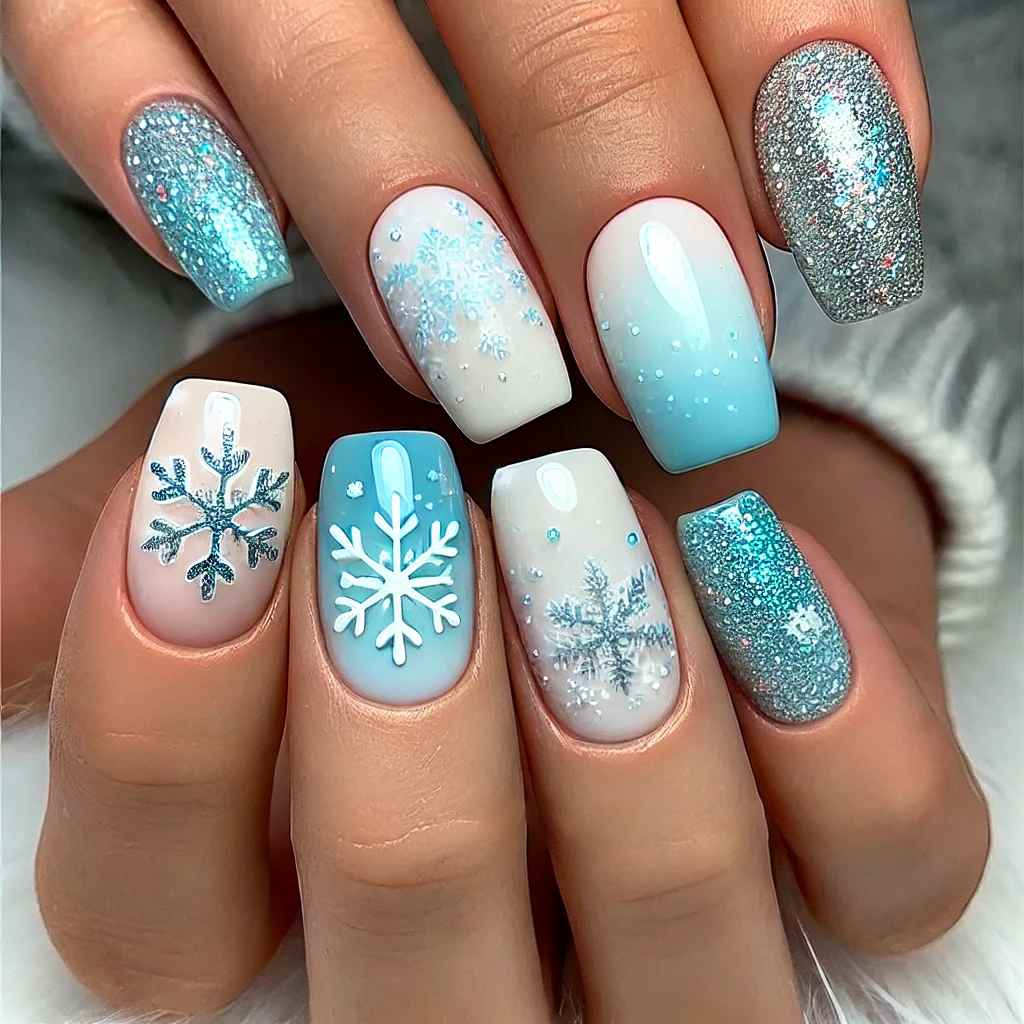
12. Sky Blue and White Gradient with Glittery Snowflakes
Try a sky blue to white gradient topped with glittery snowflakes for a fresh winter look. It’s light, airy, and full of seasonal charm.
Pro Tips
- Blend sky blue and white polish smoothly for a soft ombre.
- Apply a chunky glitter polish to snowflakes for extra sparkle.
- Use a thin brush to draw snowflake details over the gradient.
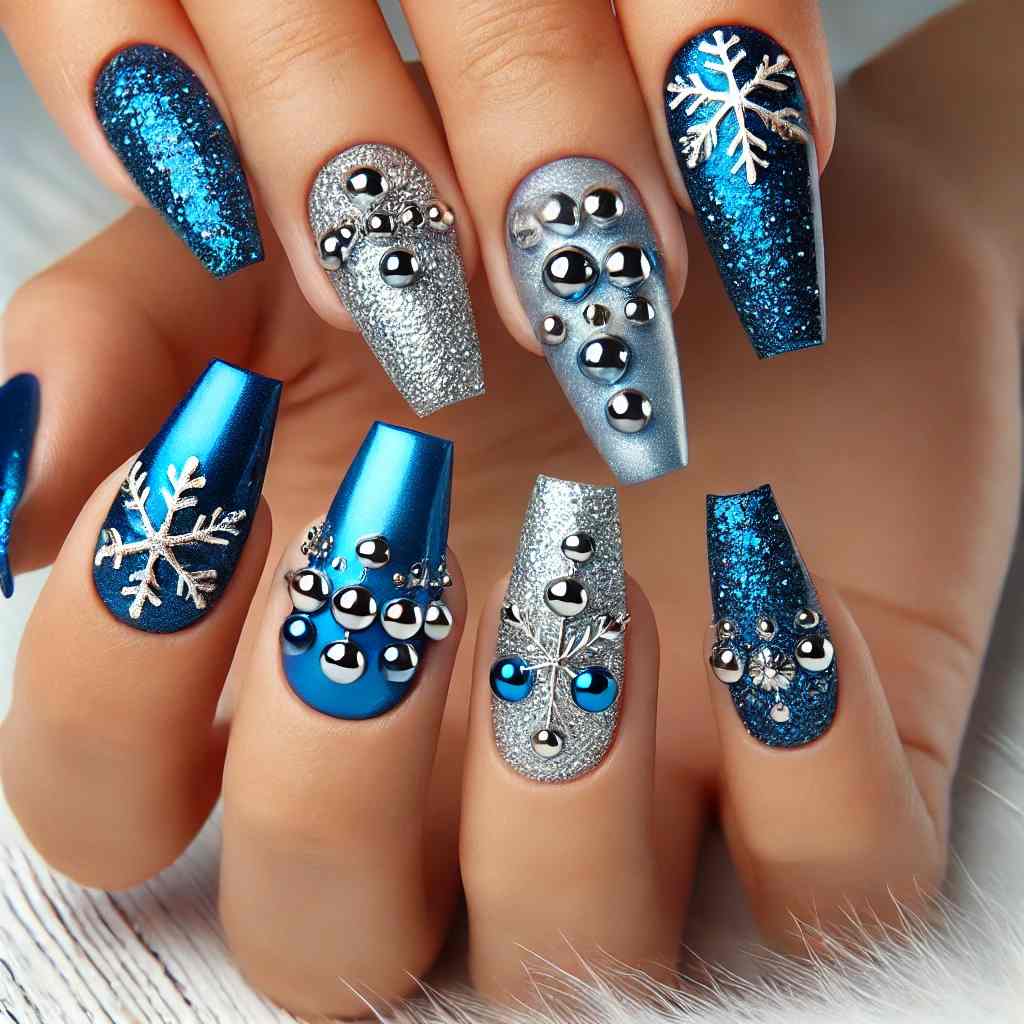
13. Electric Blue with Silver Stud Snowflakes
For those who love bold color, choose electric blue nails with silver studs forming snowflake shapes. The metallic studs add an edgy, textured effect.
Pro Tips
- Pick a bold, electric blue base for maximum impact.
- Use nail studs to create snowflake patterns.
- Secure each stud with nail glue and seal with top coat.
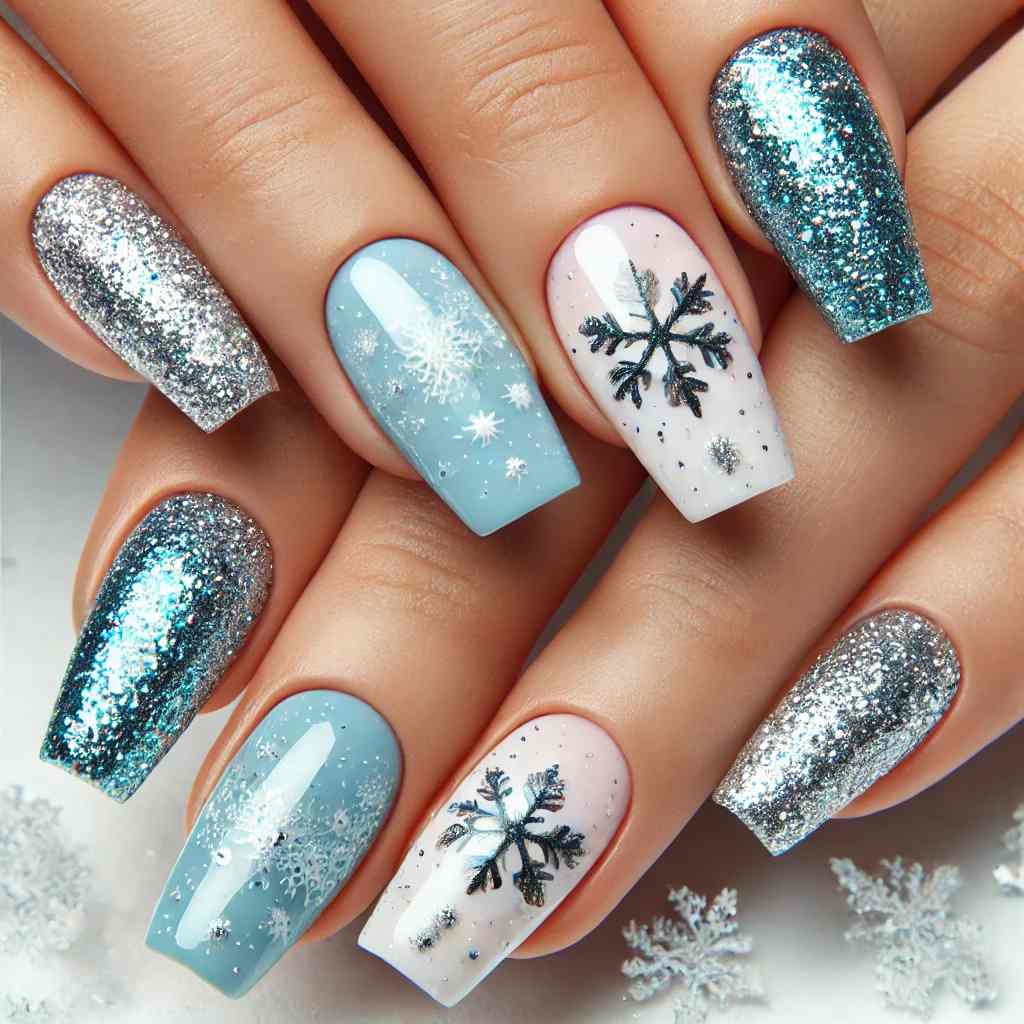
14. Metallic Baby Blue with White Snowflakes and Glitter Tips
Metallic baby blue nails adorned with white snowflakes and glitter tips make for a playful and sophisticated winter design that’s sure to stand out.
Pro Tips
- Use a metallic baby blue polish for a reflective look.
- Draw white snowflakes in varying sizes for contrast.
- Add fine glitter to tips to create a frosty effect.
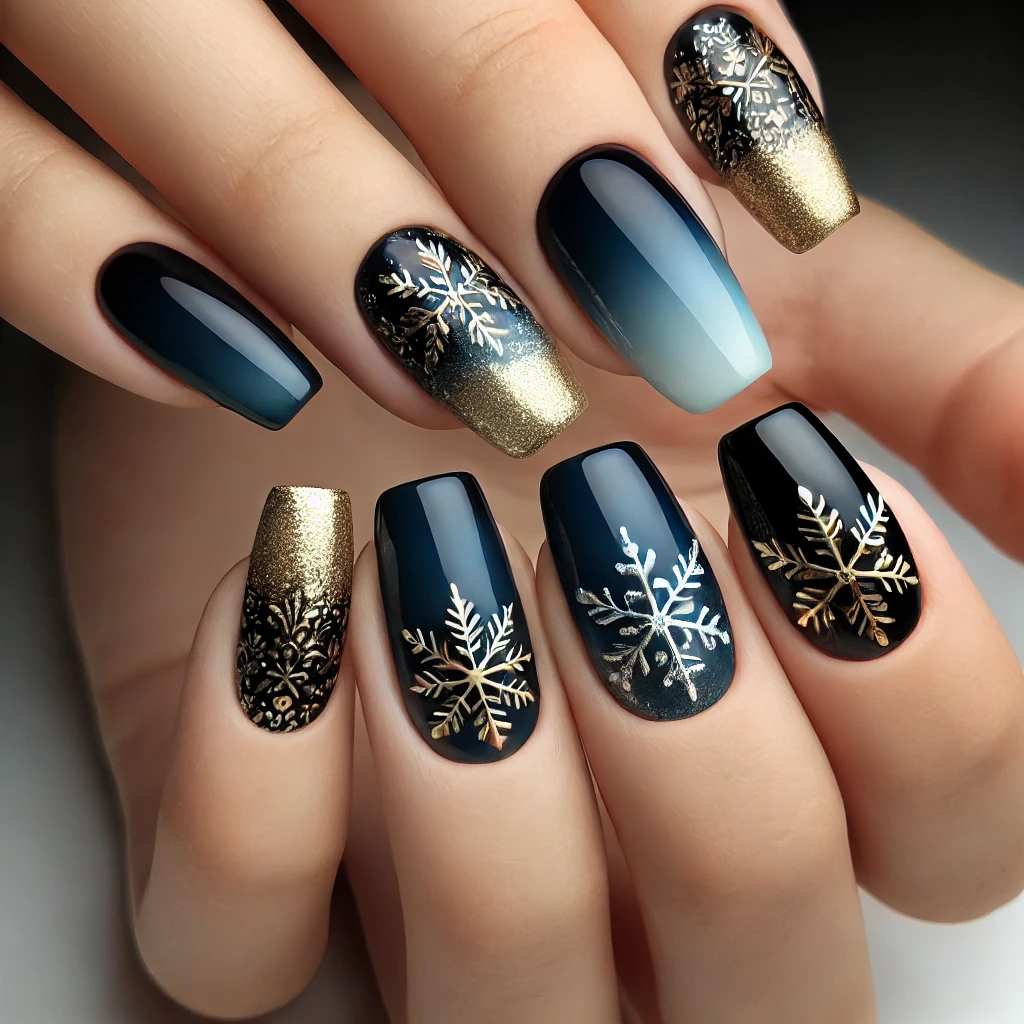
15. Dark Blue Ombre with Gold and Silver Snowflakes
Create a luxurious ombre effect from dark blue to black, topped with alternating gold and silver snowflakes. The mixed metals add sophistication and dimension.
Pro Tips
- Blend dark blue to black polish for an elegant base.
- Use gold and silver nail foils to create mixed metallic snowflakes.
- Seal with a top coat to protect the ombre and foil accents.
End Note
With these beautiful blue snowflake nail ideas, you’re all set to showcase stunning, glossy winter designs. Perfect for the festive season or any cold-weather occasion, each of these looks will make your nails a winter wonder. Try out your favorites, and enjoy the chilly, stylish vibes all winter long!

